Accessories don’t get no respect.
Zacuto’s Z-Finder EVF is a perfect example: it’s a dinky little 3.2″, 800×480 LCD monitor in a lumpy plastic case that looks like something RED’s mechanical designers would make if they worked for Fisher-Price. To add insult to injury, it’s not a primary accessory, it’s an add-on to an add-on: it’s a monitor designed to stick in front of the Zacuto Z-Finder DSLR Loupe in place of a DSLR.
Yet seemingly rational people buy the things, even folks with cameras that already have perfectly decent LCD screens. I bought one in early 2012, and it’s true: size isn’t everything. The Z-Finder EVF packs a lot of useful functionality into its oddly-shaped frame, making it a versatile and flexible tool useful for viewfinding, focus pulling, exposure setting, audio level checking, and more.
Design and Controls
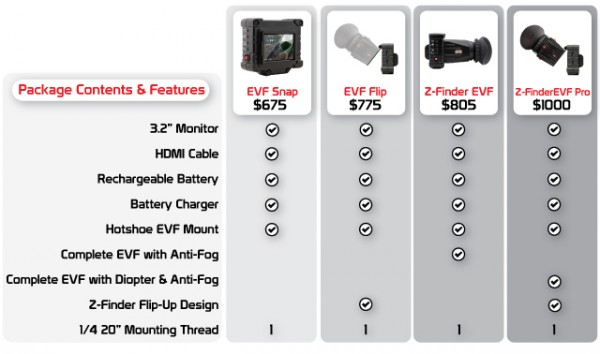
The Z-Finder EVF is available in four versions: the $675 Snap, a standalone monitor with a fixed Z-Finder frame the Z-Finder loupe snaps onto; the $775 Flip, with a flip-up frame; the $805 EVF, a Snap with the loupe included, and the $1000 EVF Pro, a Flip with the loupe included. This chart from Zacuto summarizes the kits:
All the kits include an 18″ HDMI-to-miniHDMI cable, an 1800 mAh battery (a Canon LP-E6 lookalike) with charger, a tilt-and-swivel hotshoe mount, a right-angle HDMI adapter, a carrying pouch, a snap-on black plastic protective cover, and a screen-cleaning cloth. The EVF and Pro kits include the Z-Finder loupe with a 2.5x magnification factor; the loupe bought separately is $395.
In my case, I already had a Z-Finder loupe for use with a Canon 5D Mk II, so I chose a Snap. At the time, Zacuto has a refurbished one in stock for $510. I bought it with mild trepidation, but the unit I received was indistinguishable from a brand-new one, and it’s been completely reliable.
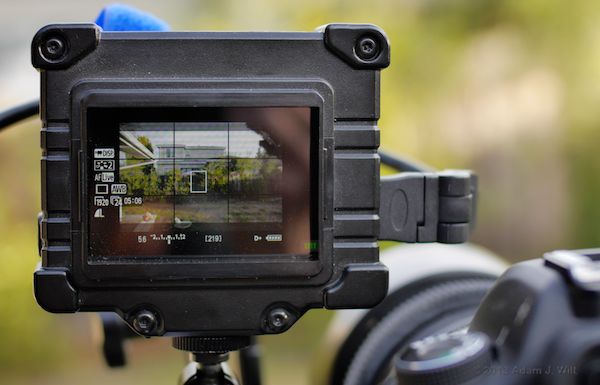
The EVF is a black plastic box about 4″ x 3.6″ x 1.75″, or 2″ deep with the battery installed. The monitor’s 3.2″ LCD isn’t centered on the front, it’s offset towards the lower left corner.
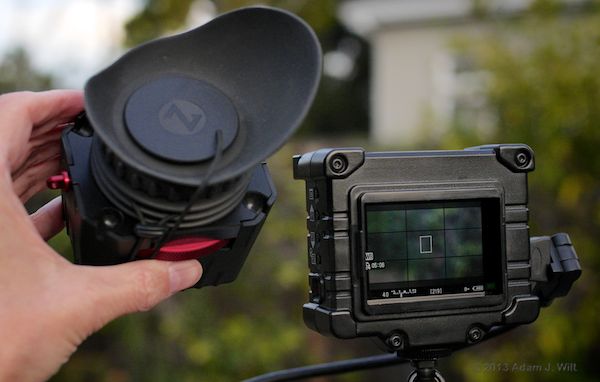
The EVF can be used as a small monitor, or the Z-Finder loupe can be snapped into place to make it into an eye-level viewfinder.
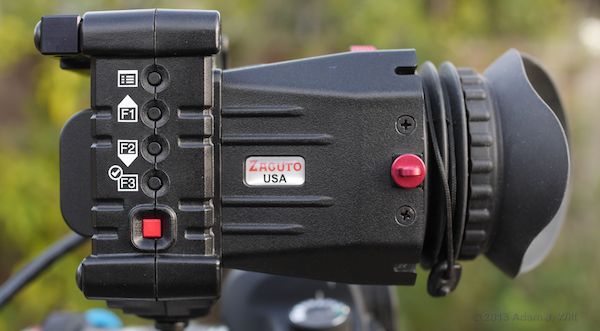
The left side of the housing has four small momentary-contact pushbuttons and a push-on, push-off power button. The top button is used to call up and dismiss menus; F1-F3 are used as programmable function buttons and are also used to navigate the menus and select items. Buttons repeat when held down, making menu and parameter traversal less tedious. The function buttons are flush-mounted within slight bevels; they’re hard to find by touch because they feel no different than the beveled edges of their surrounds or the coarse seam between the back and front halves of the housing. The power button’s bezel is raised and its travel is substantial, so it’s easy to find by feel and hard to push by mistake.
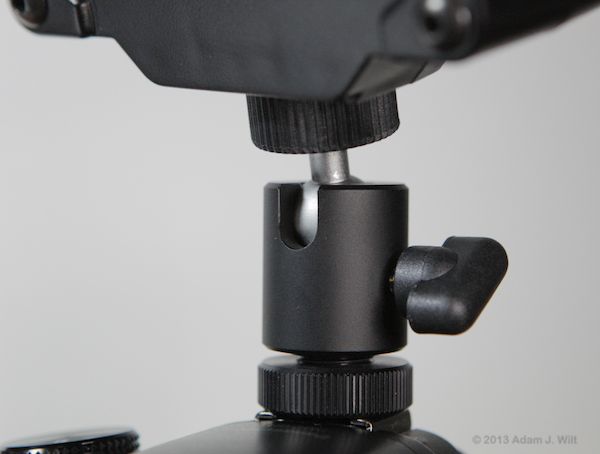
There’s a single 1/4″ mounting socket on the underside of the EVF. There’s also a USB port for a thumb drive, used in updating firmware.
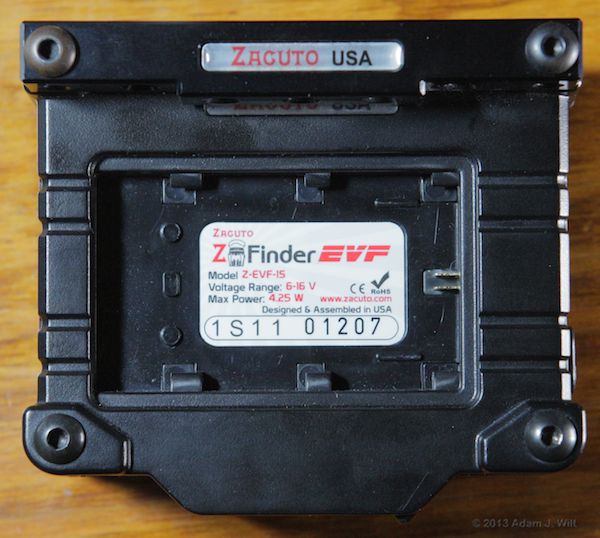
The front side of the EVF has the battery mount. I’ve added the $30 “cheese stick” add-on [thus, an add-on to an add-on to an add-on? Is it turtles all the way down?] along the top front edge of the housing, a metal bar with five more 1/4″ tapped holes in it, allowing more mounting options.
Note that the label calls for 6-16 volts of DC power. Zacuto makes a $170 D-Tap adapter so you can run the EVF off a pro battery or battery plate (assuming you don’t already have forty-seven other D-Tap cables jousting for that power connection, of course).
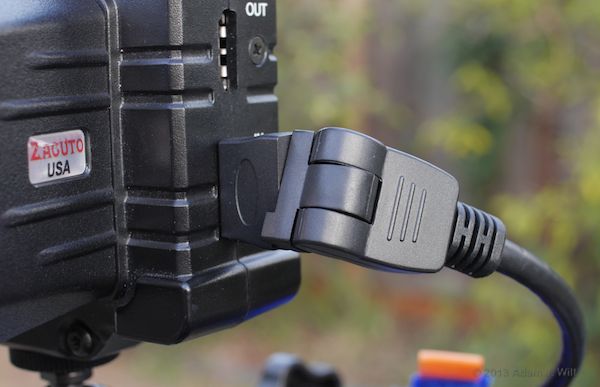
The right side has two HDMI ports, an input and an output. Both, notably, are secured to the casing with screws, so they’re less likely to stress their soldered connections when you jam cables in or yank ’em out. Zacuto’s supplied HDMI cable has a tilt-and-swivel connector on it, making it conform more naturally with any twists and turns required in rigging it.
Zacuto also offers a 24″ HDMI-to-miniHDMI cable and a 36″ HDMI-to-HDMI cable (with tilt/swivel connectors on both ends), but any HDMI cable will work.
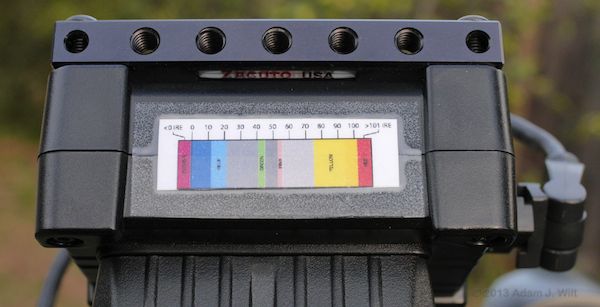
The top of the EVF is flat and featureless: just the place to stick any notes you might need. I copied the false-color chart from the PDF manual and pasted it there for reference:
The EVF weighs practically nothing. With battery and Cheese Stick attached, it’s still not much heavier than the Z-Finder loupe itself; the EVF and the loupe combined are under a pound (I’m guessing; I don’t have a scale that reads that low).
Next:Menus and Features…

